Handing over print files properly: bleed, resolution, colour space
The three terms every print handover hangs on — explained plainly, with the concrete numbers a printer wants to hear from you.
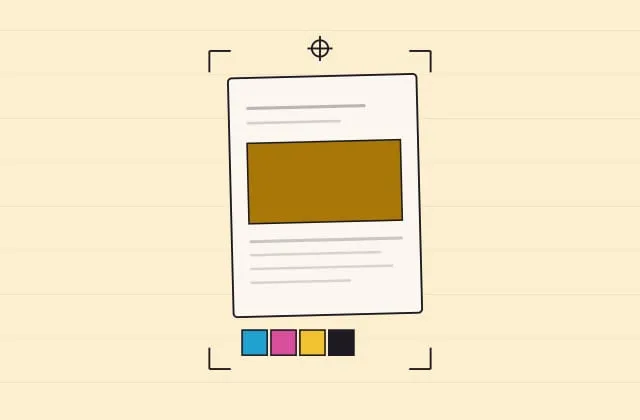
The print handover is the moment a printer asks you three questions nobody has asked before: “With bleed?”, “What resolution are the images?”, “Which colour space?” Guess at those and you get either follow-up questions or a book with white edges.
Here are the three answers, and what they mean.
1. Bleed: why the page is bigger than the page
Printing happens on large sheets which are then cut. The cut is never exact — half a millimetre of deviation is normal. If a background colour ended exactly at the edge, the smallest offset would produce a white stripe.
So you supply bleed: the page is set up 3 mm larger than the final format, and anything meant to look edge-to-edge runs past the trim line. After cutting the excess is gone — and there is no white edge.
For A5 that means:
| Item | Dimensions |
|---|---|
| Final format (trim) | 148 × 210 mm |
| With 3 mm bleed | 154 × 216 mm |
| Safety margin for text | ~9 mm from the trim edge |
The PDF AbiHive exports is already 154 × 216 mm for A5 (or 216 × 303 mm for A4) — final format plus 3 mm of bleed all round, which is what most printers want. The templates also keep text away from the edge, so it doesn’t get cut into even if the trim runs slightly off.
Crop marks are not included in that PDF. That is normal for “format with bleed” and correct for digital printers. Ask anyway: some businesses want marks, and then the printer adds them from your data themselves.
2. Resolution: 300 dpi, and what that means for a phone photo
dpi is not a property of a file, it is the ratio of pixels to printed size. The same image is sharp at 5 cm wide and blurry at 20 cm.
The arithmetic:
pixels needed = width in cm ÷ 2.54 × 300

  Small profile picture,   4 cm wide  →   470 px
  Half A5 page,           10 cm wide  →  1,180 px
  Full-page A5 photo,   15.4 cm wide  →  1,820 px
  A5 double spread,     30.8 cm wide  →  3,640 px
A current phone photo is 3,000 to 4,000 pixels wide — enough even for a double spread. What is not enough:
- images from WhatsApp (compressed to ~1,000 px)
- screenshots from Instagram
- images from a group chat that have already been forwarded twice
That’s why photos should be uploaded as files when collecting, not fished out of a chat. More in Good leavers’ photos without a photographer.
Important for AbiHive: images that flow into the book are stored at their original resolution — only the web previews are scaled down. So what you upload is what goes to print. The limit per file is 15 MB, which is ample for a phone photo.
3. Colour space: RGB, CMYK, and why you usually don’t have to do anything
A screen mixes light (RGB), a printing press mixes ink (CMYK). Somewhere in between a conversion has to happen — the only question is who does it.
- Digital printing (the normal case at 100–200 copies): the printer converts against the profile of their press. That is better than you doing it blind, because they know their paper and their machine and you don’t.
- Offset printing or a fixed standard (e.g. FOGRA / PSO Coated): some businesses require ready-separated CMYK against a specific profile.
The PDF from AbiHive is sRGB and carries that colour space as a declaration in the document (a so-called OutputIntent). That means the printer doesn’t have to guess which colour space the data is in — the most common cause of colour deviations in school projects. If your printer requires separated CMYK against a particular profile, tell us or your administrator: the export can produce that when the profile is stored.
What you should not do: convert images to CMYK yourself beforehand. Colours converted twice go flat, and deep black in text tends to become a black mixed from four inks — which looks frayed at small sizes as soon as the press prints a tenth of a millimetre off register.
The questions to ask the printer
Before you hand over, settle five points. It costs one e-mail and saves a week:
- PDF with 3 mm bleed — is that fine, or do you want crop marks?
- Which colour space do you want? (tagged sRGB is usually fine)
- How many working days from handover to delivery?
- What’s the page-count step size? Many work in signatures of 4, 8 or 16 pages.
- Does the cover need its own file? Often yes, usually with a spine width that depends on the page count.
Point 5 is the one that surprises people most often: the spine width can only be calculated once the page count is final. So fix the page count before the cover, not the other way round.
The checklist before sending
- The page count is even — every sheet has two sides
- The first page is a right-hand page (the title), not a spread
- No text closer than ~9 mm to the trim edge
- All images big enough for where they sit (see the arithmetic above)
- No placeholders left in the book (“Lorem”, “TODO”, “name?”)
- The sponsors’ adverts are in, and at the right size
- One person has looked at the complete PDF once from front to back
- The imprint is there
The second-to-last item is skipped most often and catches the most. Don’t skim — every page.
Takeaways
- 3 mm bleed: A5 becomes 154 × 216 mm. The export already delivers it that way.
- 300 dpi means: pixels ÷ (cm ÷ 2.54). Phone photos are enough, chat images aren’t.
- Hand over tagged sRGB and let the printer convert — unless they say otherwise.
- Five questions to the printer before you hand over.
- Page count even, page count before the cover.
What happens in the two weeks before: The last two weeks before the deadline.
More from Craft
Layout that doesn't look like Word
Six rules that make a yearbook look designed rather than shoved together — without a design degree and without expensive software.
Good leavers' photos without a photographer
Light, background, resolution: how to get photos from phone cameras that look good in the printed book — and which pictures you shouldn't collect at all.
Proofreading: the process that actually holds
Two rounds, fixed roles, one log — how to find the mistakes you can't correct after printing. With a checklist.